Run a Fordefi API Signer locally with Docker desktop.
Make sure you complete both of these pre-steps:
- Download Docker Desktop for your system.
- In the Fordefi console, navigate to User Management section and create an API User with the Trader role and store its access tokens securely. Learn more. The access token should start with
eyJhbG...as in:
eyJhbGciOiJFZERTQSIsImtpZCI6ImZ3MFc3aVpocUc0SUEzaXV4ZmhQIiwidHlwIjoiSldUIn0.eyJpc3MiOiJodHRwczovL2FwaS5mb3JkZWZpLmNvbS8iLCJzdWIiOiJiY2M1Zjc0Zi1hN2I1LTQ0ZWEtYWM5Mi1iMzE3YzIxZjE4MjBAZm9yZGVmaSIsImF1ZCI6WyJodHRwczovL2FwaS5mb3JkZWZpLmNvbS9hcGkvIl0sImV4cCI6MjA3MTgyMzk1NSwiaWF0IjoxNzU2NDYzOTU1LCJqdGkiOiJjYzdmYmZiYi1lOTlhLTRhMjItYTMxZC0zYWYxNjJhYzQ5NGEifQ.AhSskIoXbk-9xmomj2TpH4K2_d7evIL9uGYQIb9-nQarVaydYd9aywiMfr4lFk7SbFbRRgd0HcQF7veE7JD9CwNow, set up Docker.
- Open Docker desktop, start a new terminal and install the Fordefi API Signer image from the Fordefi artifactory (see here).
Downloading the API Signer image will require a password. Contact Fordefi support.
Before you do anything else, go back to the Fordefi console, navigate to Settings > API Signer and select Add API Signer, then name your signer and click Add.
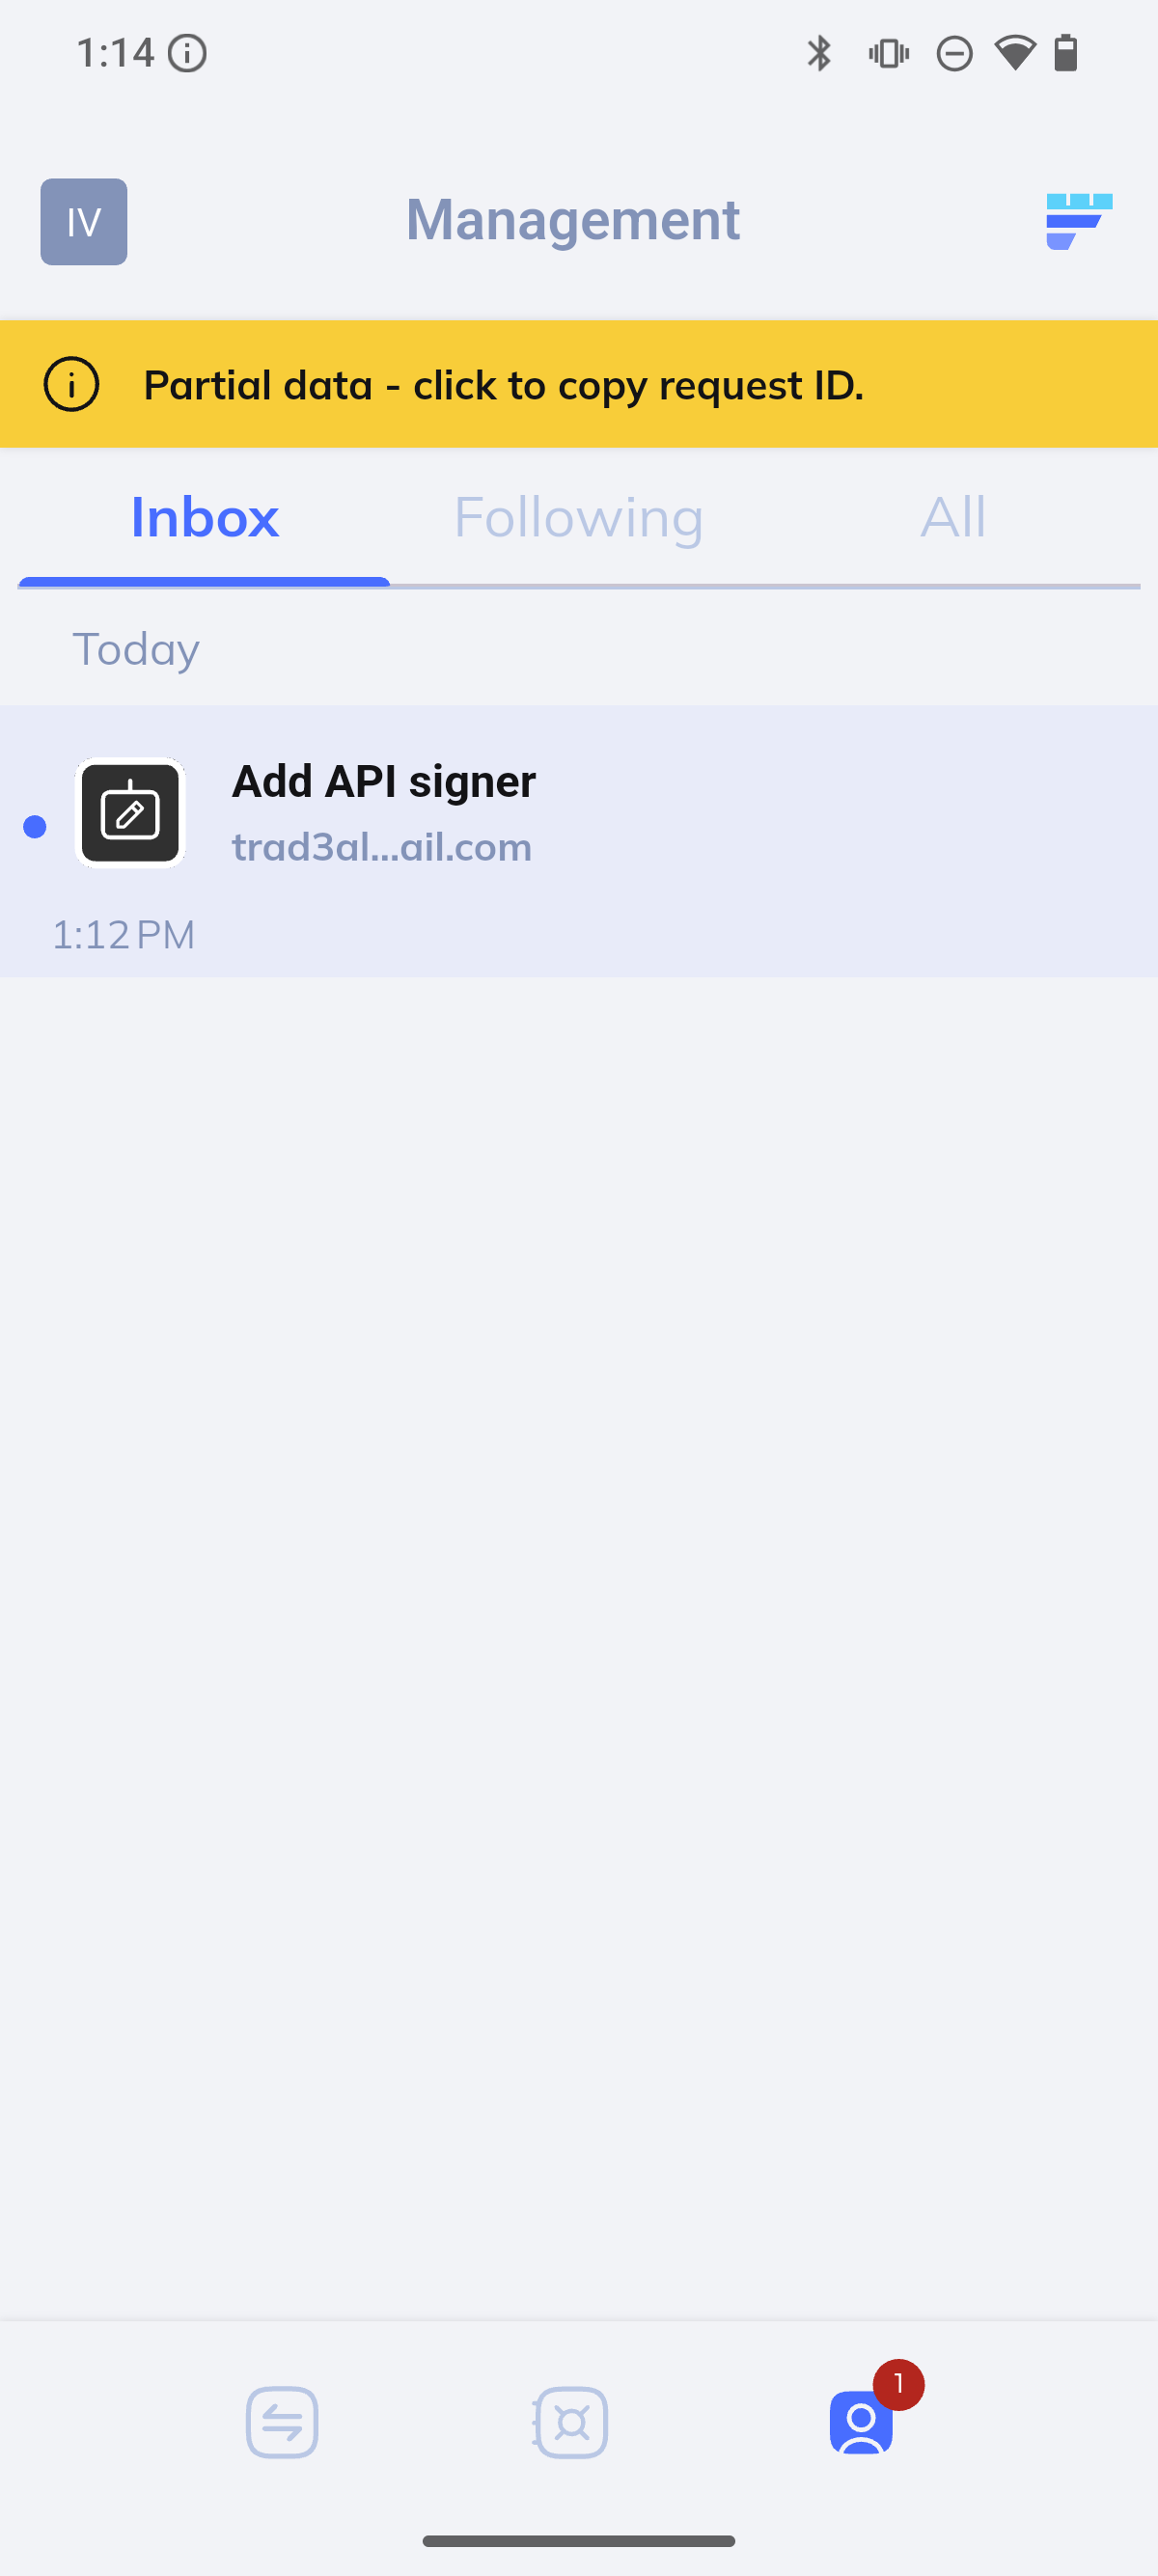
Open your Fordefi mobile app - there should be an Add API signer notification in your inbox.

Open the notification and select Activate to start the scanner on your phone.
Go back to Docker, select Provision signer and scan the QR code that is displayed in the terminal with your Fordefi mobile app.
If the QR code doesn't fit in the Docker terminal, zoom out using
command + "minus sign"on your keyboard.
- Your API Signer logs should now display the following:
YYYY-MM-DD INFO Provisioning completed successfully.

========================================
========= API-Signer Main Menu =========
========================================

Use the arrow keys to navigate: ↓ ↑ → ←
? API-Signer is provisioned. What do you want to do?:
  ▸ Run signer
    Register API user key
    Show API users
    Remove API user key
↓ Configure signer- On your computer, open a separate terminal and create an EC key pair as explained here.
Make sure to remember where the private key is located in your system: you will need it later to make calls to the Fordefi API.
- For now, extract the public key and make sure it's copied without the armour and in a single continuous line, without a line break, as in:
MFkwEwYHKoZIzj0CAQYIKoZIzj0DAQcDQgAED/fDkfDzZWaOZ3mEZlr7aJ5XbVh4SUJSGWPnlye3rAMYuRzYprY89rwEaXlJnLBTm6RaVV1jU0WMo+nsLN2JIw==- Then go back to Docker, select
Register API user key, select the API user to register, and paste the public key in the field. TypeEnterto complete the registration:
Finally, select
Run signerto start your signer.Your signer will need to be running to sign transactions initiated by the API User you registered.
While you can only have a single API Signer per organization, you can create and pair as many API Users with your Signer as you want. To do this, simply create a new API User from the Fordefi console (see here), generate a new key pair for them and register the public key with the API Signer by repeating steps 5 through 7.
You're done!
To successfully transact, your API User will need to both authenticate with the Fordefi backend using the access token generated during its creation (see Before you start and sign transaction payloads with the specific private.pem key you generated in step 5. You can learn about both steps here and check out our API examples for practical code examples
Also, remember that you API Signer will need to be running to sign transactions initiated by the API User you registered.